Deploying ELK in AWS Ubuntu machine and sending Apache2 Logs
Step 1: Deploy an AWS instance of elasticsearch using Ubuntu choose t2.medium as Instance type.
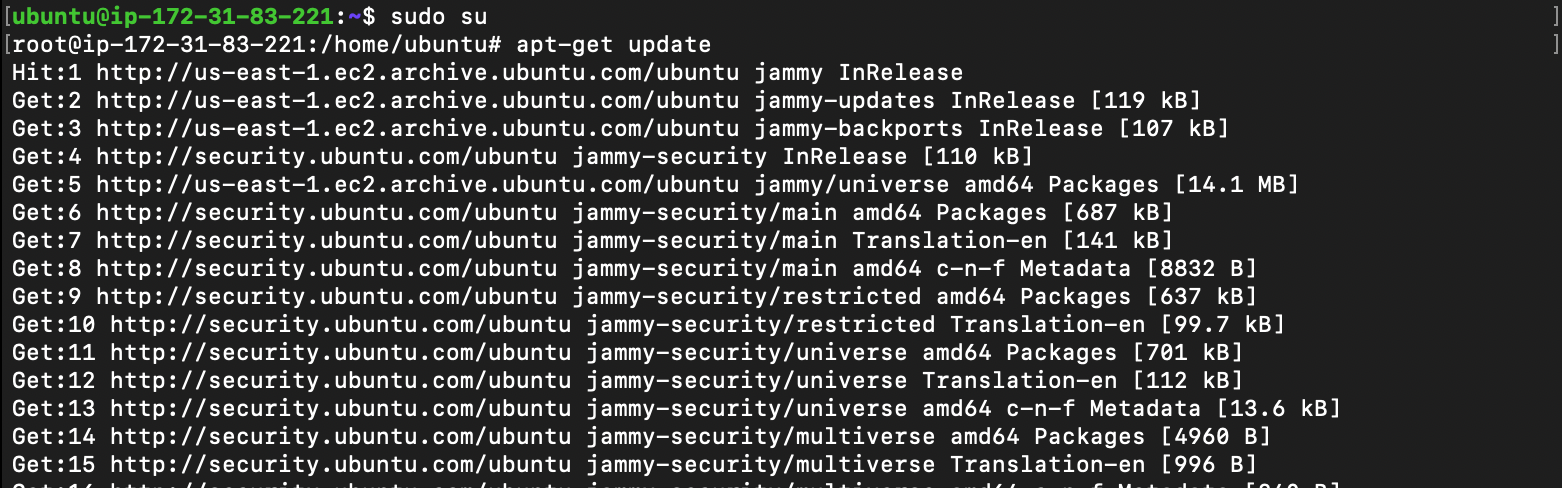
Step 2: Connect to the above deployed instance using SSH.
Step 3: Enter sudo command and enter the below command.
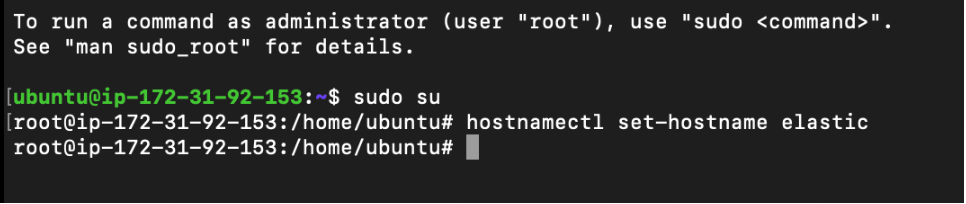
Step 4: Update the instance using apt-get update

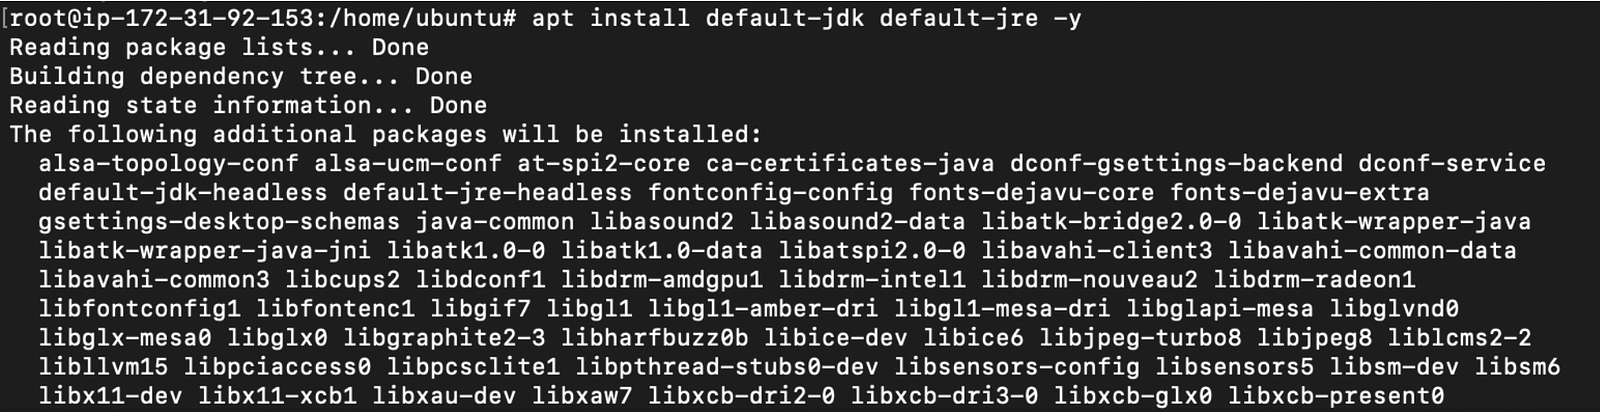
Step 5: Install JDK using apt install default-jdk default-jre -y
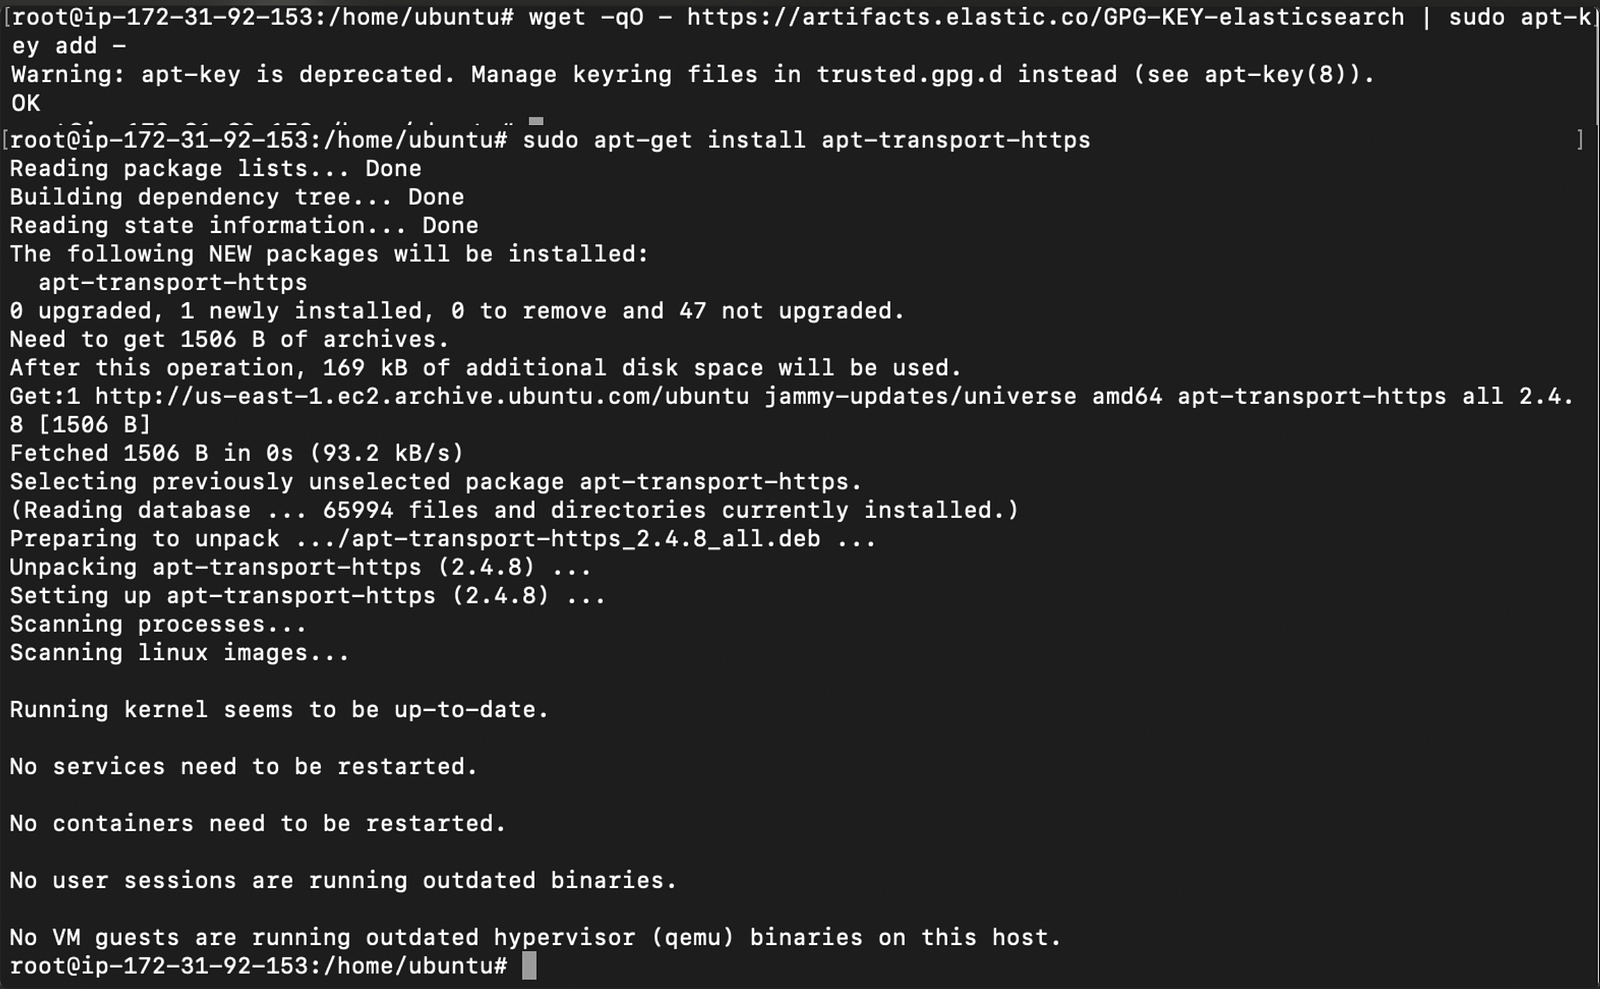
Step 6: Enter the command wget -qO — https://artifacts.elastic.co/GPG-KEY-elasticsearch | sudo apt-key add and sudo apt-get install apt-transport-https
Step 7: Enter the command echo “deb https://artifacts.elastic.co/packages/7.x/apt stable main” | sudo tee –a /etc/apt/sources.list.d/elastic-7.x.list

Step 8: Now run the update command apt-get update -y

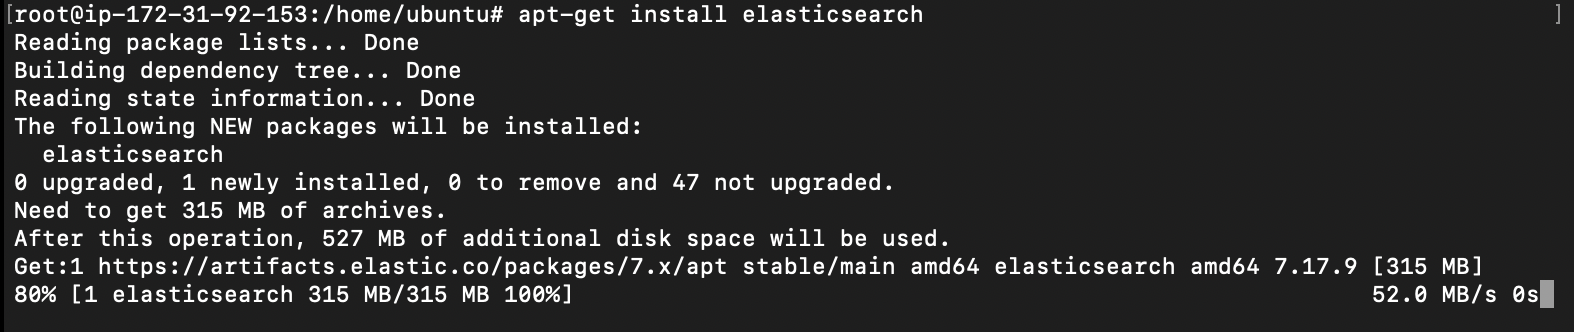
Step 9: Now install elasticserch using the command: apt-get install elasticsearch
Step 10: Make configuration changes in elasticsearch.yml file using: nano /etc/elasticsearch/elasticsearch.yml and make changes as shown below. The network address is the Private IPv4 address of the instance. Save the file.

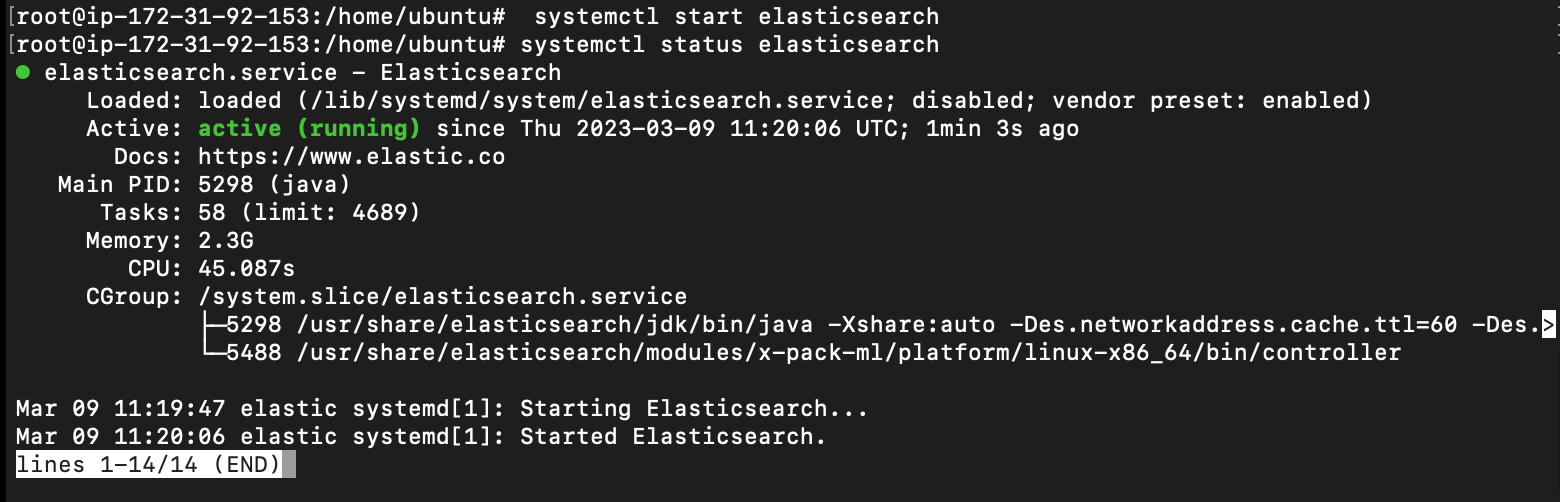
Step 11: Start the Elasticsearch using:
systemctl start elasticsearch
and check the status using
systemctl status elasticsearch.
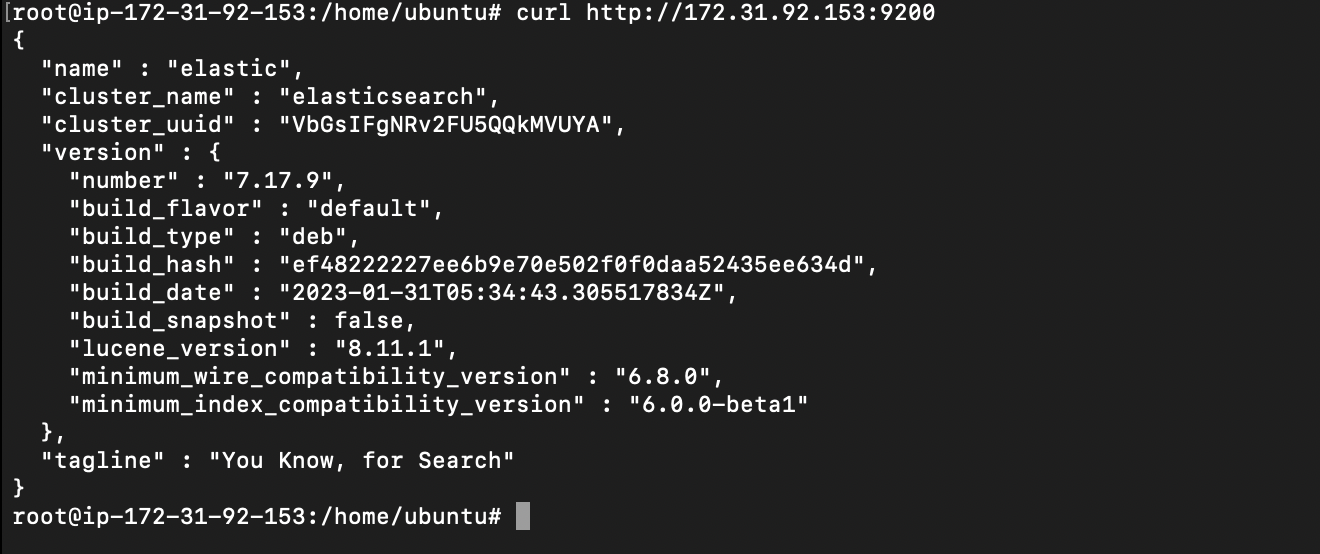
Step 12: Check if the cluster is started using the command
curl http://<IP>:9200
Step 13: Now deploy another instance named logstashkibana in Ubuntu using t2.medium.
Step 14: Connect to the above deployed instance using SSH.
Step 15: Update the instance using apt-get update.
Step 16: Install JDK using,
apt install default-jdk default-jre -y

Step 17: Repeat Step 6,7,8
Step 18: Install Kibana using:
apt-get install kibana
Step 19: Configure kibana using: vim /etc/kibana/kibana.yml and make changes as shown below.
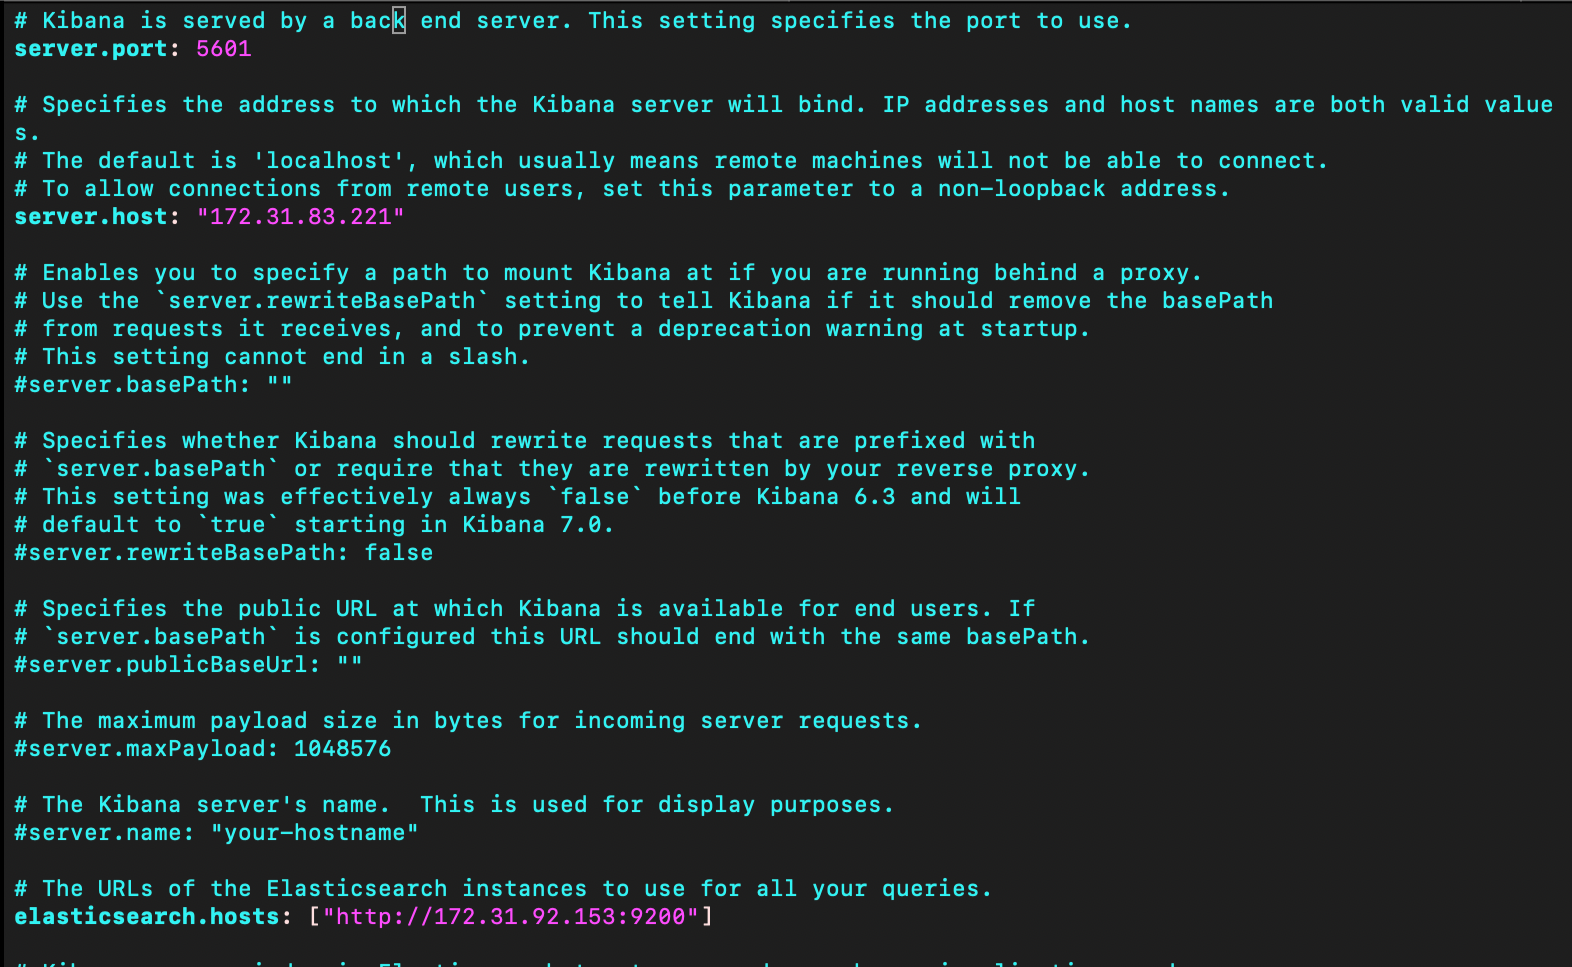
The server.host is the private IP of logstashkibana instance and elasticsearch.hosts is the private IP of elasticsearch instance.
Step 20: Start Kibana using systemctl start kibana and check the status using
systemctl status kibana
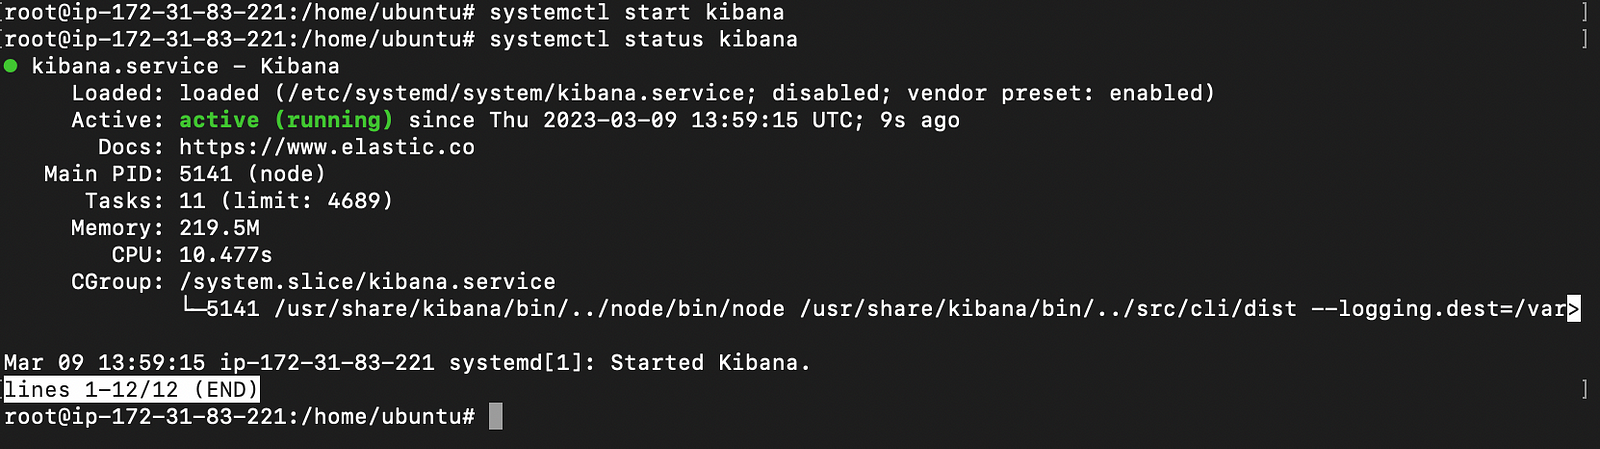
Step 21: Check the log of Kibana to confirm it is running using
tail -f /var/log/kibana/kibana.log

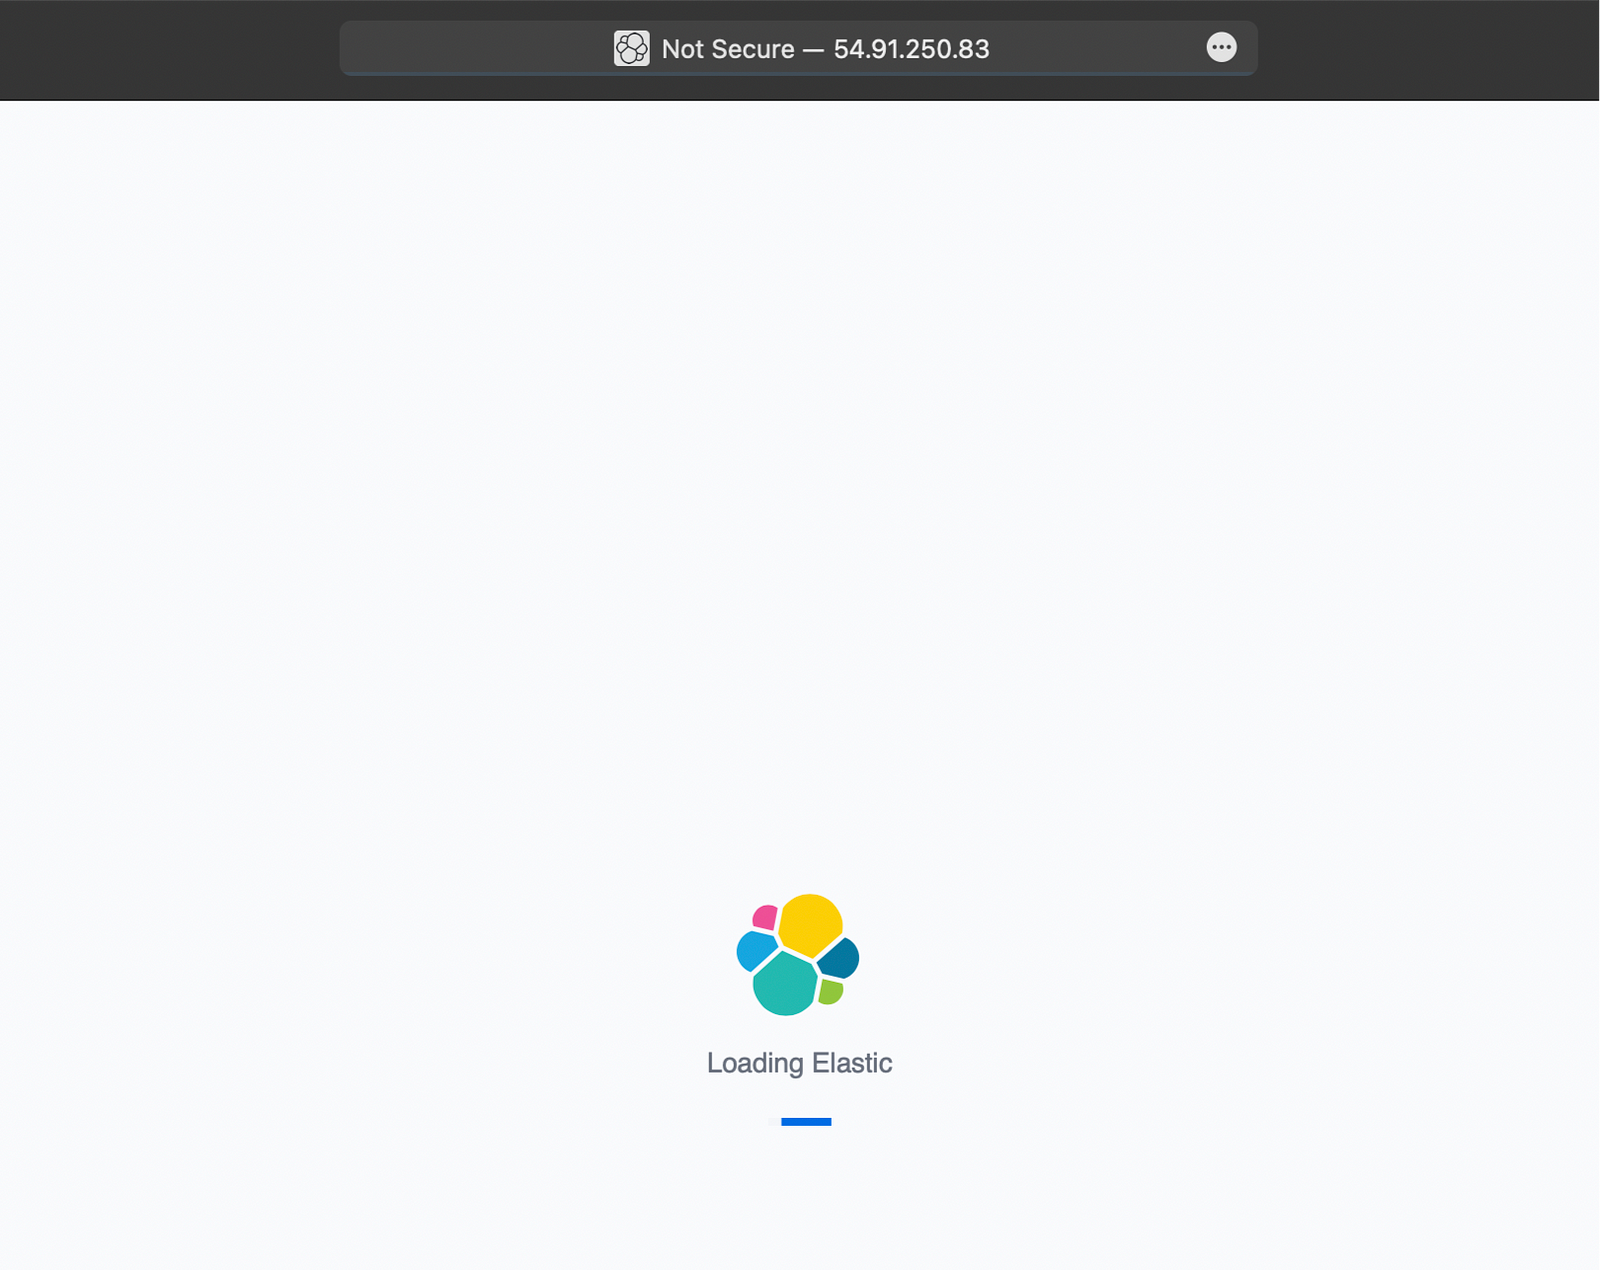
Step 21: Ping the kibana instance in a new tab using <PUBLIC IP>:5601
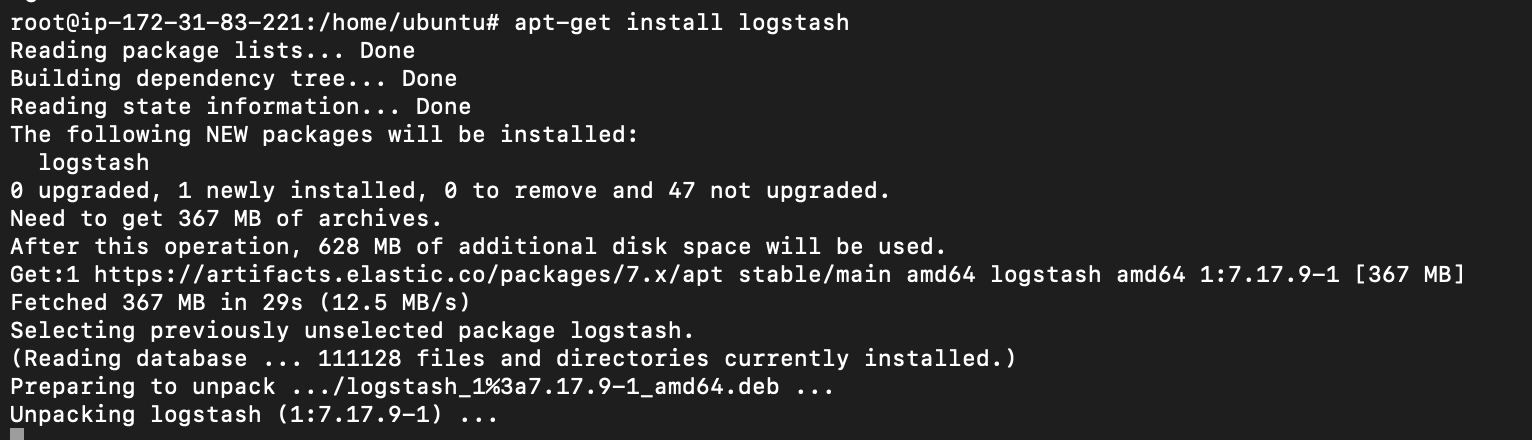
Step 22: Install Logstash using
apt-get install logstash
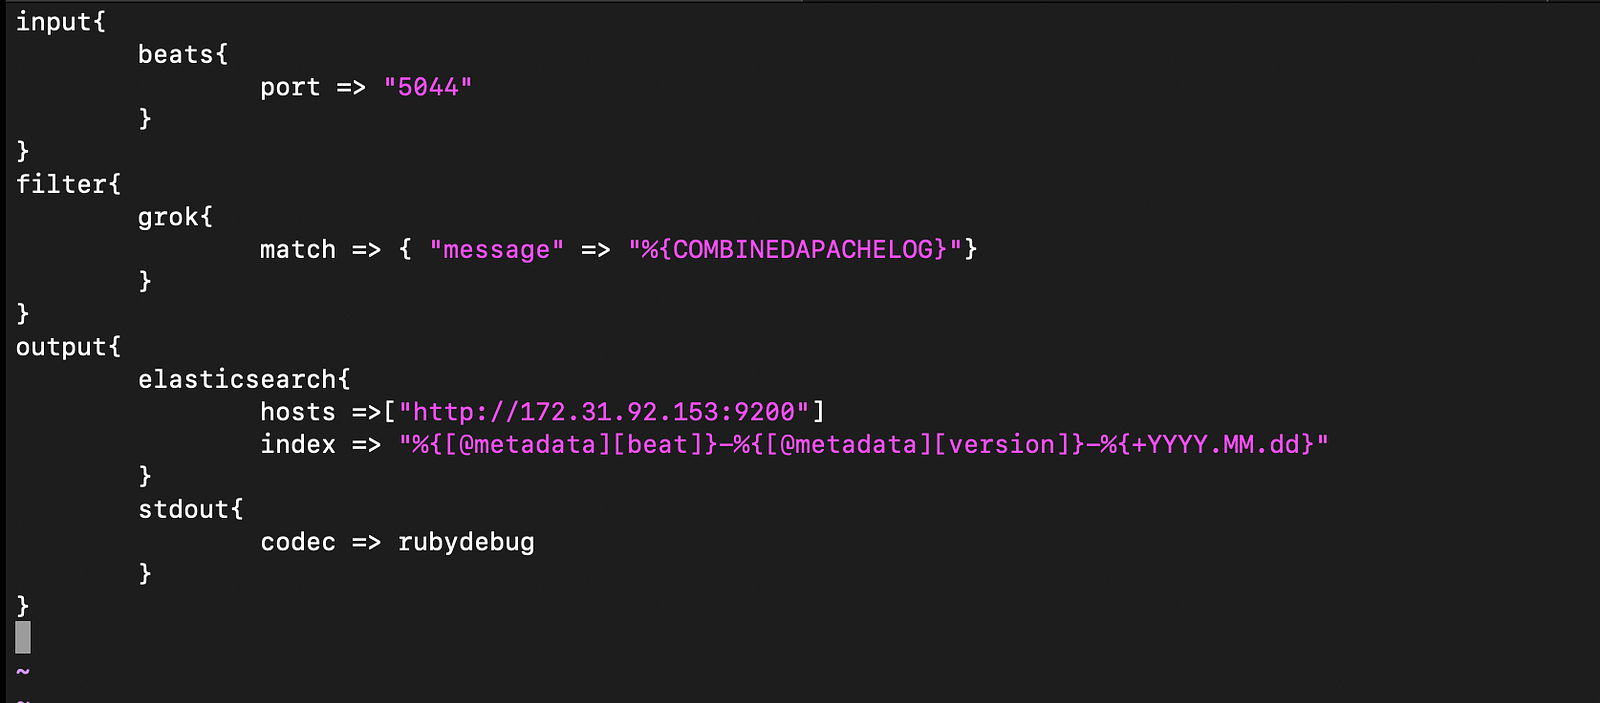
Step 23: Change directory to /etc/logstash/conf.d/ and type vim apache.conf, and add the data as shown below and save it. The IP in hosts is private IP of elasticsearch instance.
Step 24: Start and check status of Logstash using
systemctl status logstash
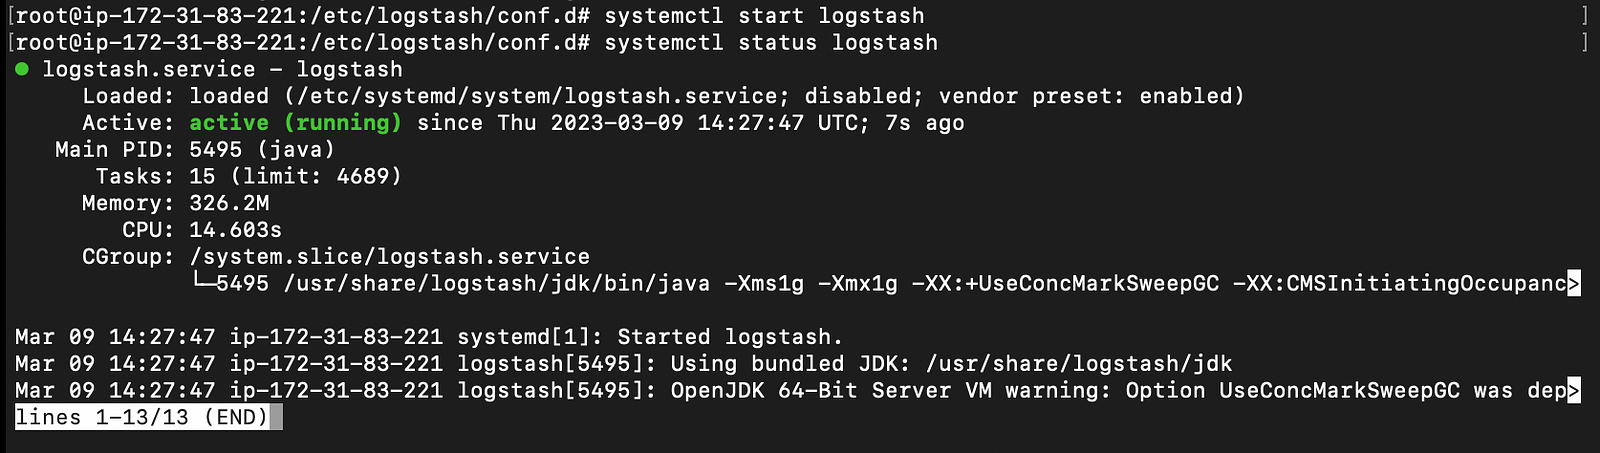
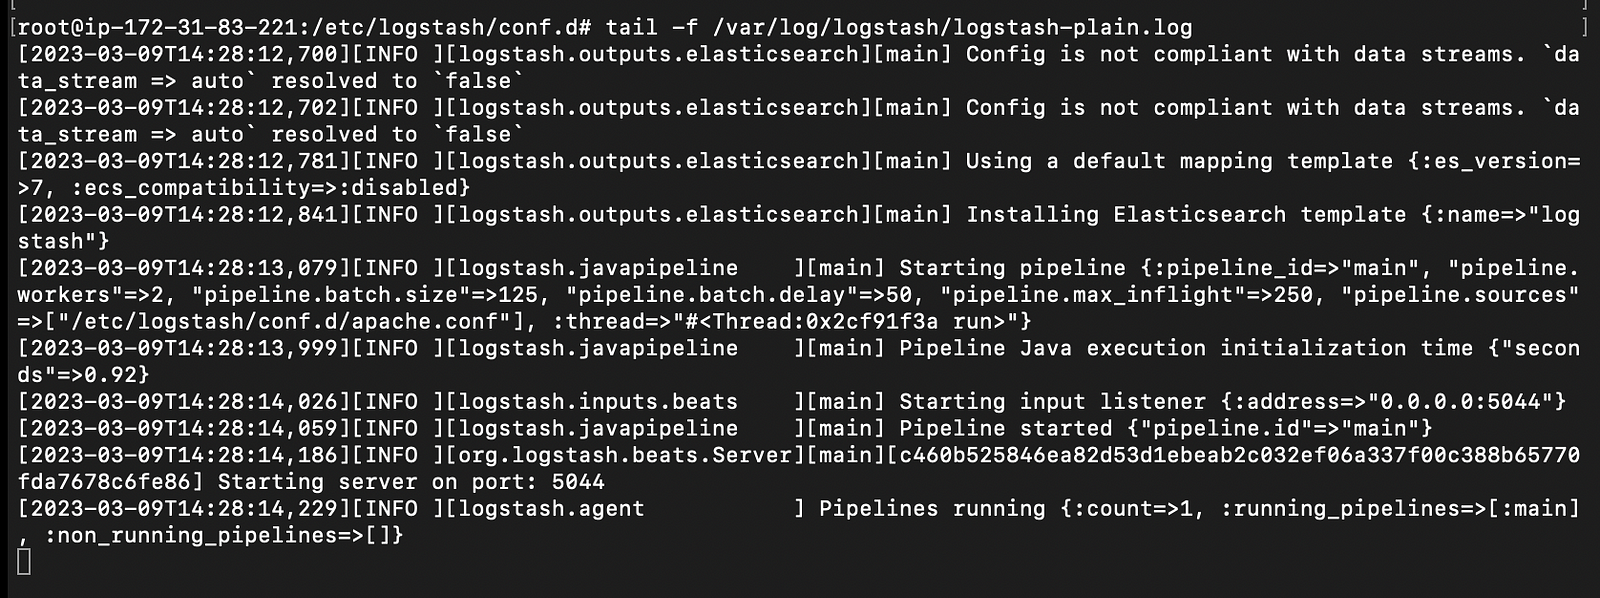
Step 25: Check the log to confirm if Logstash is running using
tail -f /var/log/logstash/logstash- plain.log
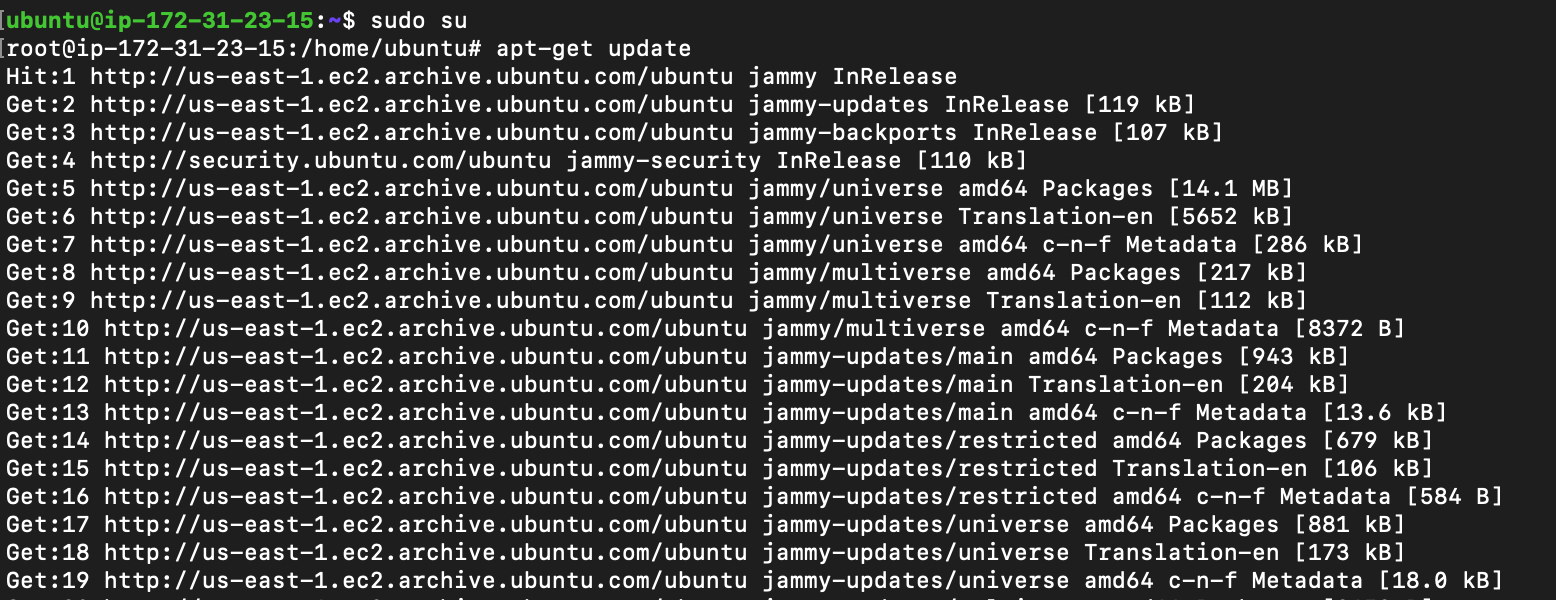
Step 26: Launch another instance this will be our client instance. Connect to this instance with SSH.
Step 27: Update the instance using apt-get update.
Step 28: Install apache using,
apt-get install apache2

Step 29: Install filebeats using
curl -L -O https://artifacts.elastic.co/downloads/beats/filebeat/ filebeat-7.17.6-amd64.deb

Step 30: Run the command
dpkg -i filebeat-7.17.6-amd64.deb

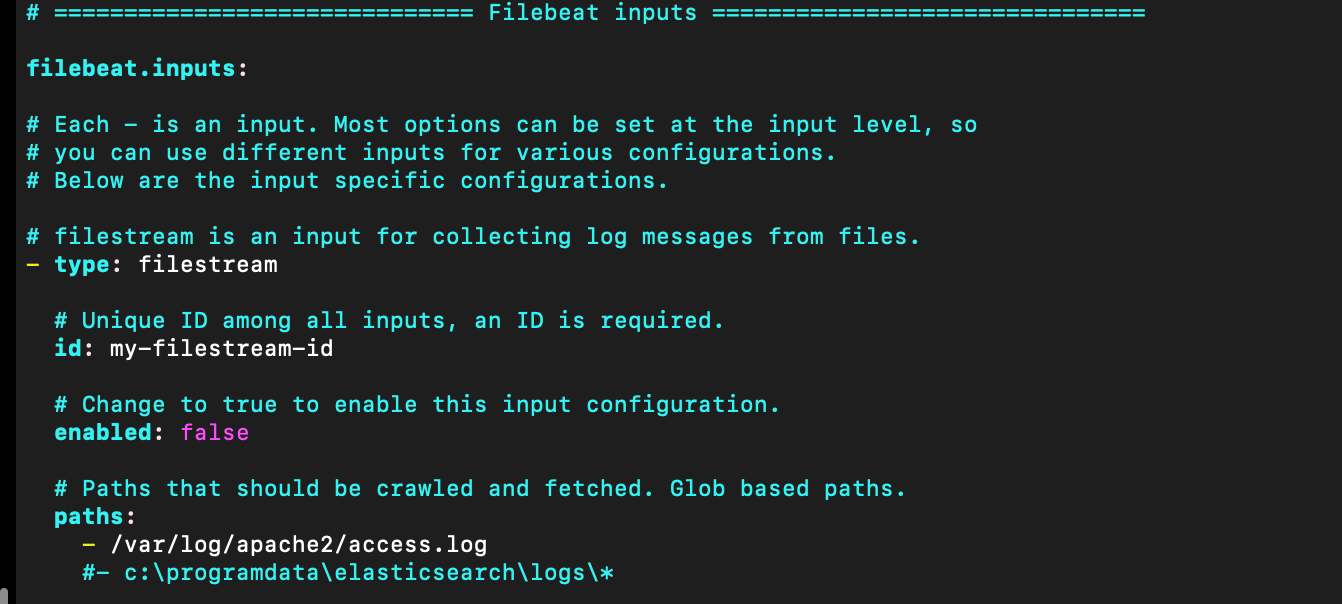
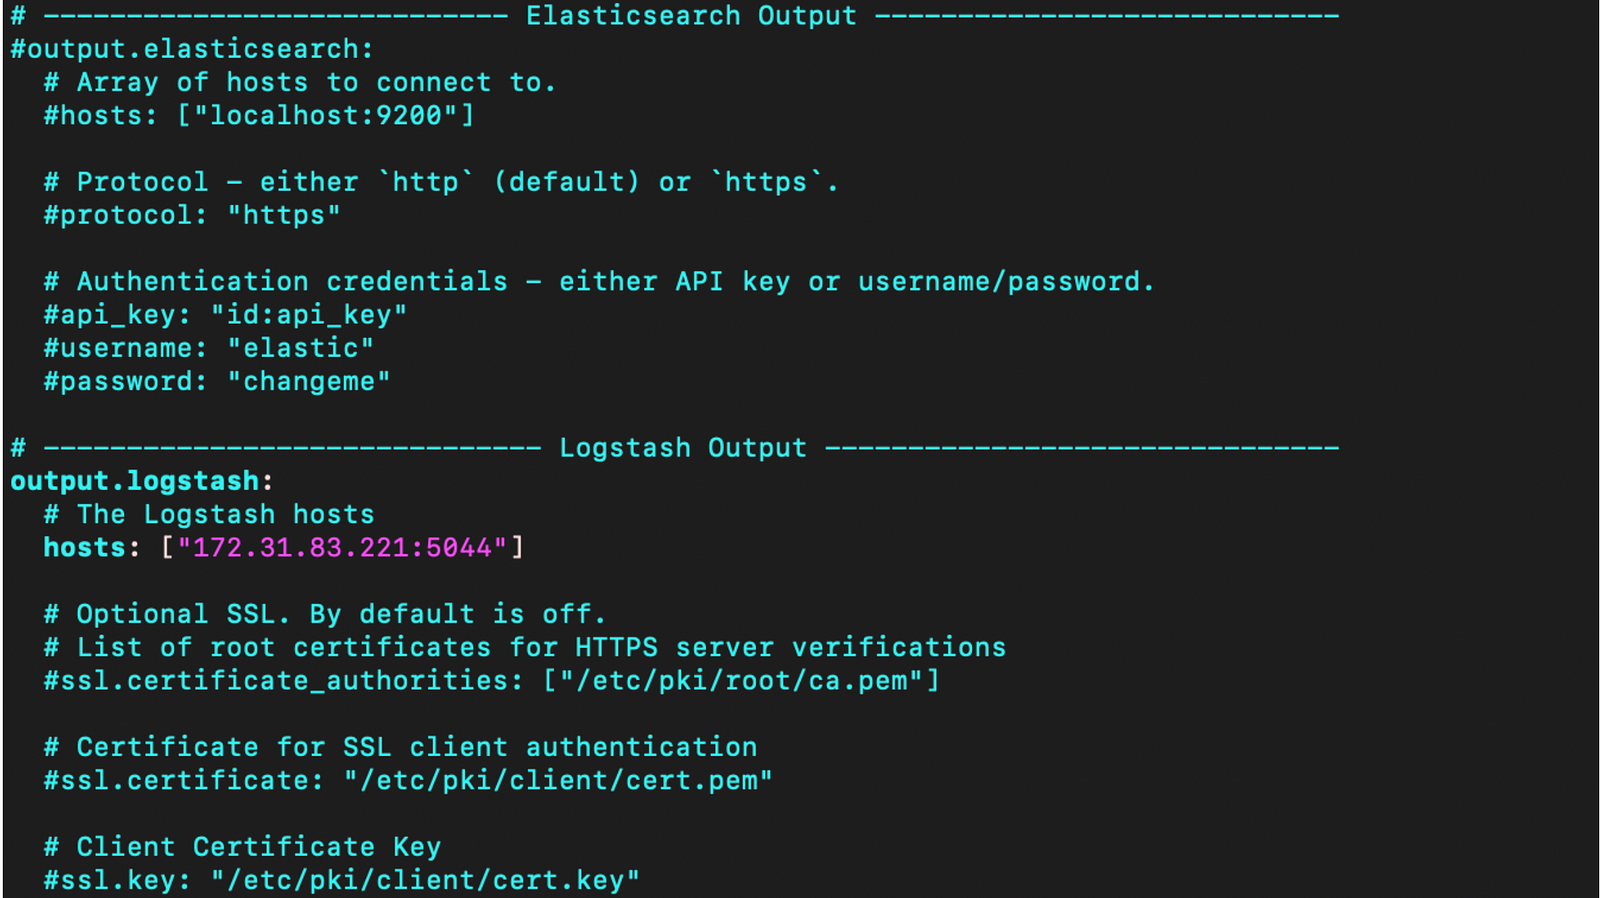
Step 31: Type vim /etc/filebeat/filebeat.yml and make changes as per below screenshots the IP address in hosts is private IP of logstashkibana instance
Step 32: Run
filebeat setup — index-management -E output.logstash.enabled=false -E ‘output.elasticsearch.hosts=[“<elasticsearch IP>:9200”]’

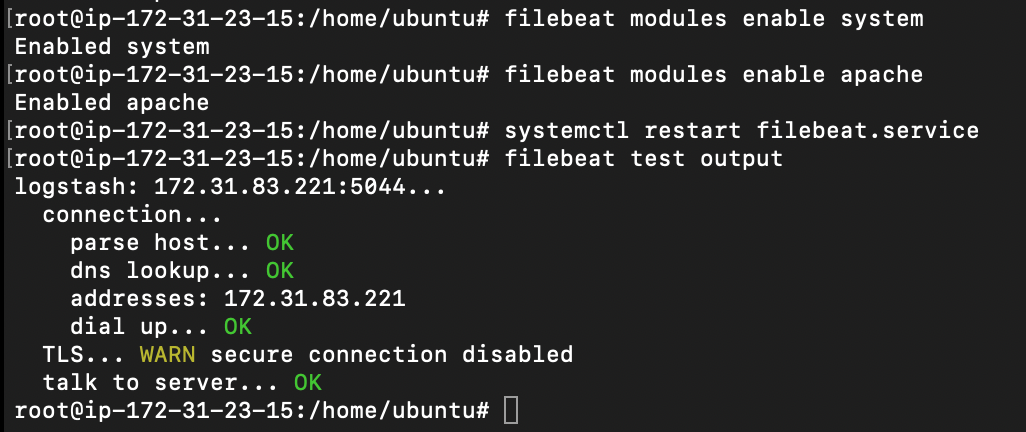
Step 33: Run the following command
filebeat module enable system
filebeat module enable apache2
Step 34: Now access the kibana instance in a new tab using <PUBLIC IP>:5601 Head towards Discover and create a new index pattern as shown below.
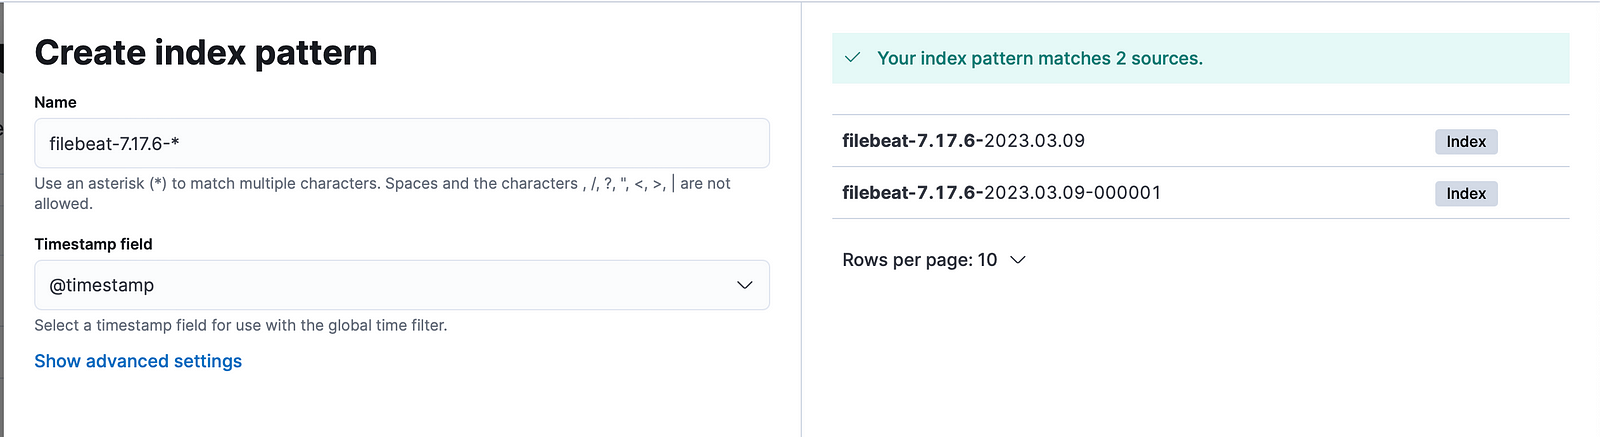
Once this index pattern is created go back to discover to visualise the data.
The rules need to be modified in step 23 as per user demands to visualise the data.
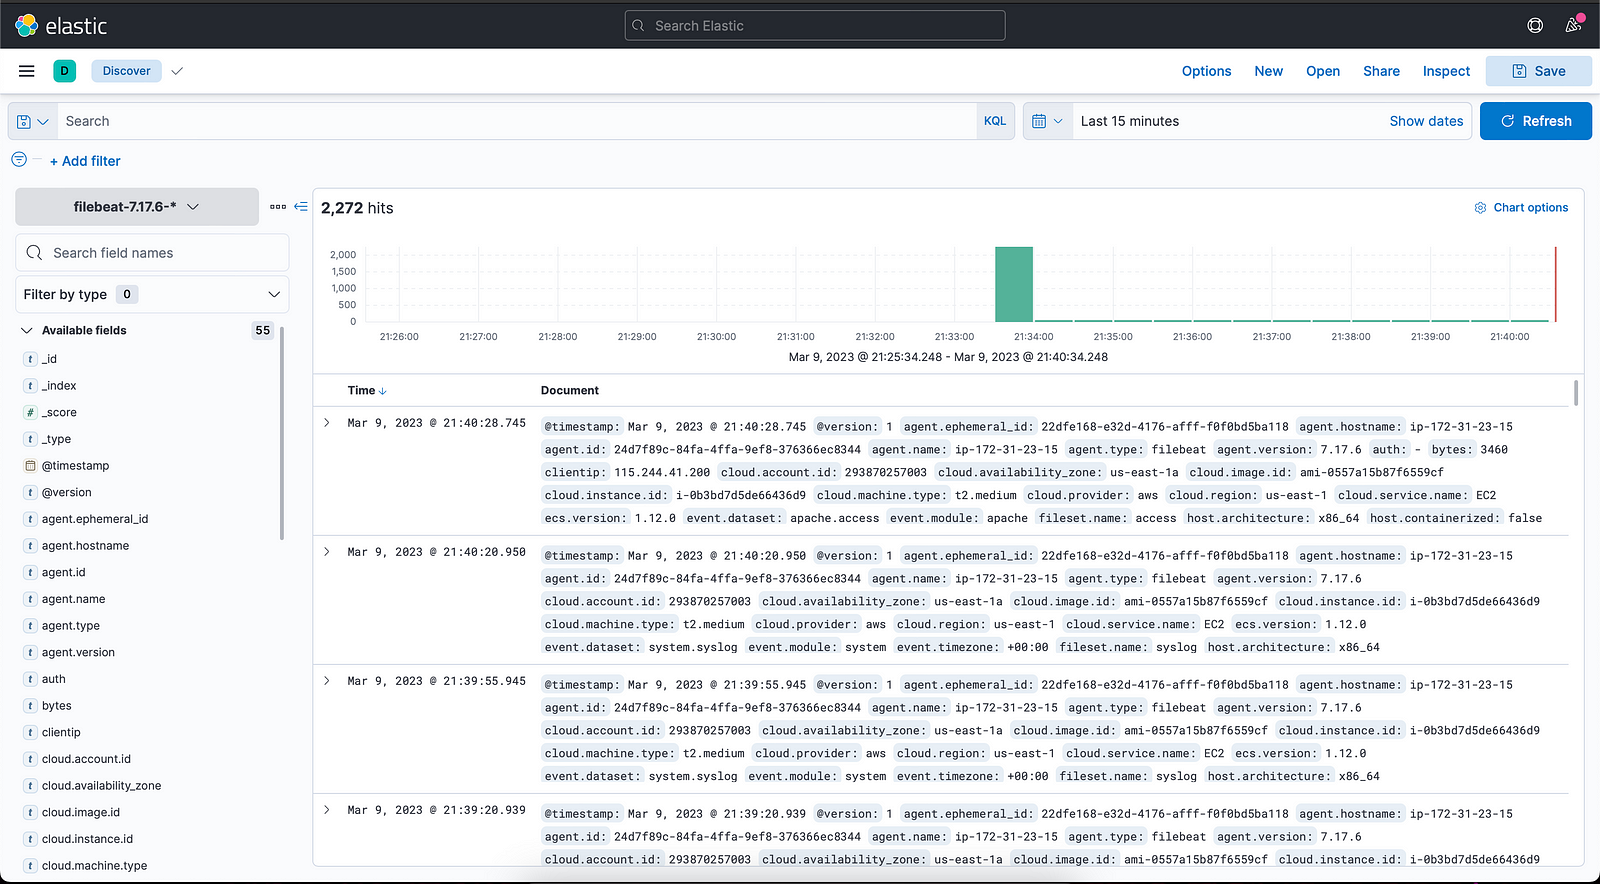
Similarly we can deploy other beats in the same instance, and monitor the network. We can see the above image where the logs can be accessed.
Subscribe to our YouTube channel: https://www.youtube.com/@CyberToolGuardian/featured
Follow us on Instagram: https://instagram.com/cybertoolguardian
Check out the website: https://cybertoolguardain.com


Comments
Post a Comment