Installing and Setting up OpenSearch
What is OpenSearch?
OpenSearch is the flexible, scalable, open-source way to build solutions for data-intensive applications. Explore, enrich, and visualize your data with built-in performance, developer-friendly tools, and powerful integrations for machine learning, data processing, and more.
The OpenSearch project, created by Amazon, is a forked search project based on old versions of Elasticsearch and Kibana. These projects were created primarily to support Amazon OpenSearch Service (formerly Amazon Elasticsearch Service). Amazon OpenSearch Service will not deliver current or future releases of Elasticsearch and Kibana.
Setting up OpenSearch
The machine I will be using here is a Ubuntu Server VM. Feel free to use your prefered machine, make sure you make modifications as per your machine.
Update the machine,
sudo apt update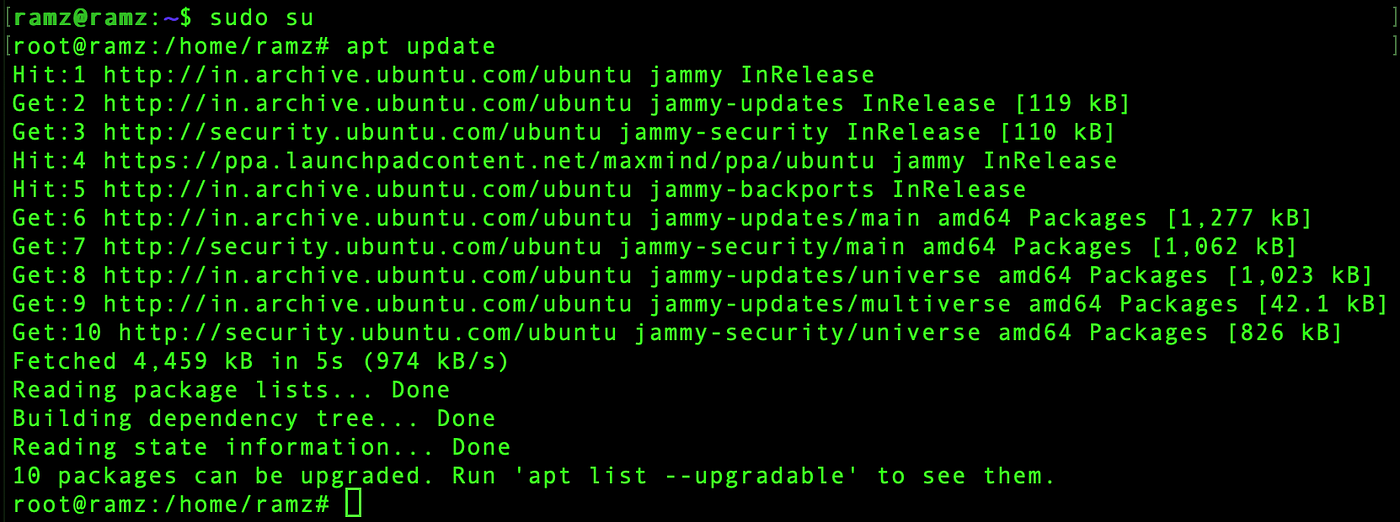
Install JRE and JDK,
apt install default-jre default-jdk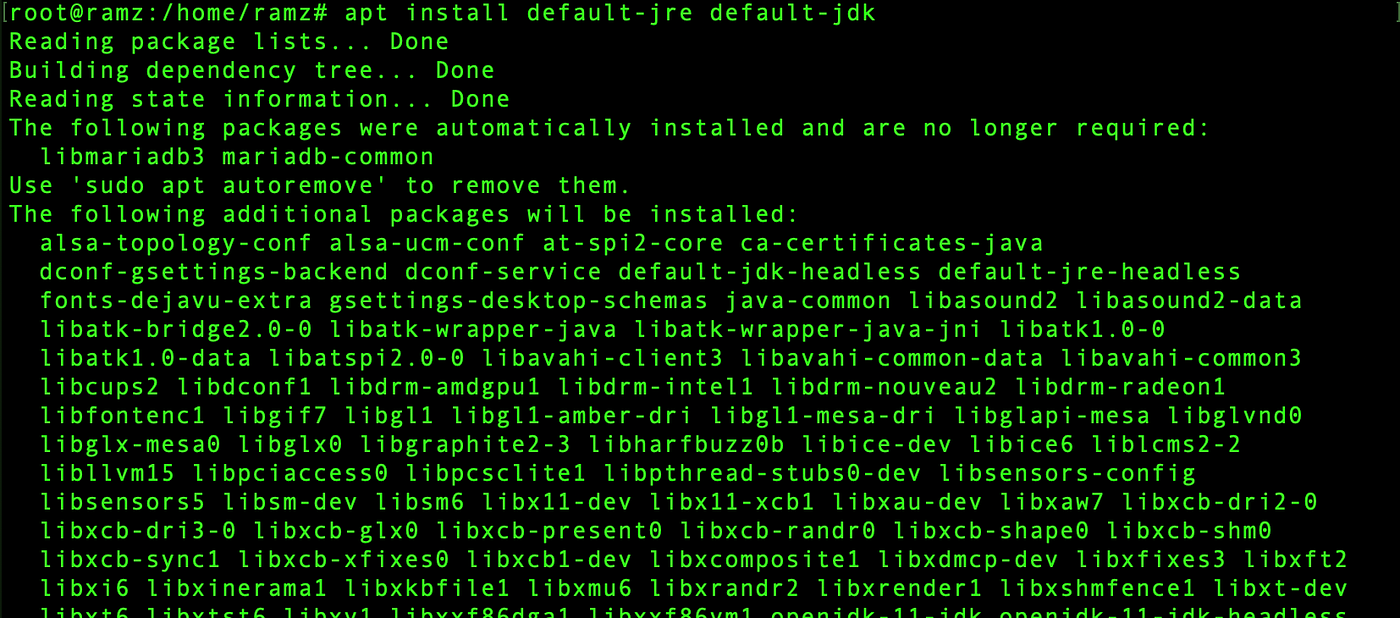
Export the java path to the variable JAVA_HOME,
export JAVA_HOME=/usr/lib/jvm/java-11-openjdk-amd64
echo $JAVA_HOME
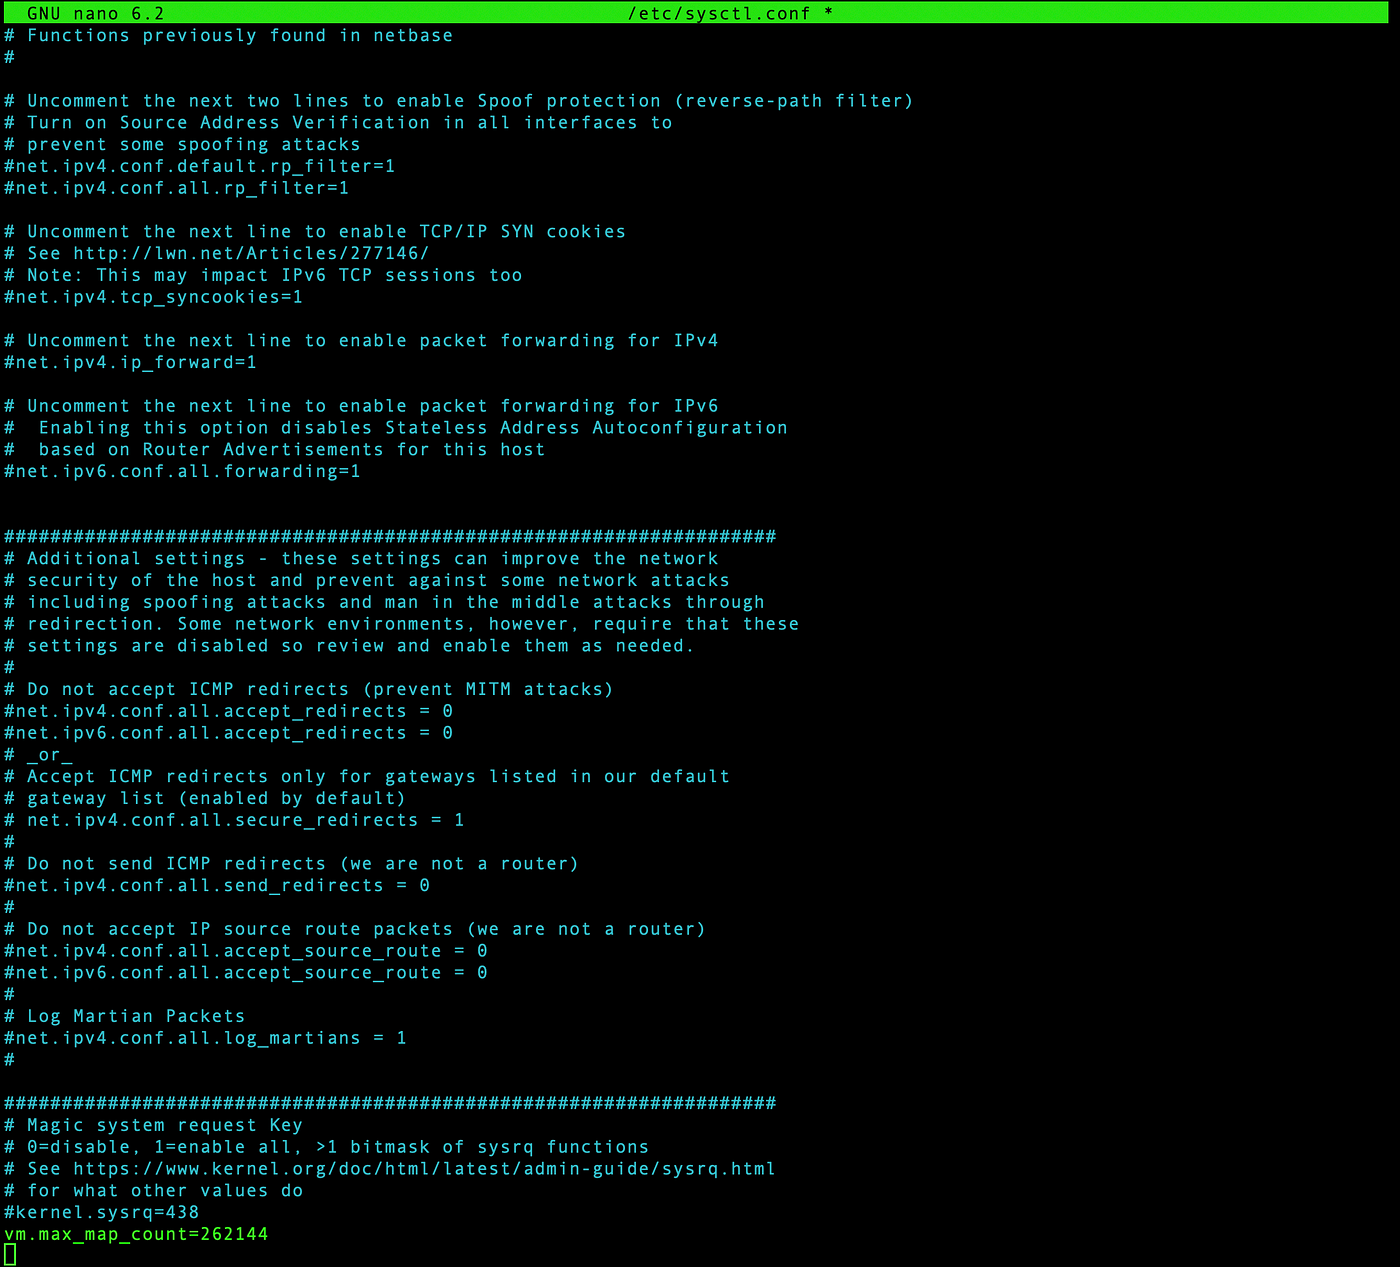
Before installing and setting up OpenSearch make sure that vm.max_map_count is set to at least 262144.
cat /proc/sys/vm/max_map_count
Add vm.max_map_count=262144 in /etc/sysctl.conf file
Reload to update the changes using,
sudo sysctl -p
Download OpenSearch from official website or else use package managers for apt to install as mentioned in documentation for other package manager refer to the documentation. Copy the link of the download button and use wget to install.

wget https://artifacts.opensearch.org/releases/bundle/opensearch/2.11.1/opensearch-2.11.1-linux-x64.deb
Unzip the downloaded file,
sudo dpkg -i opensearch-2.11.1-linux-x64.deb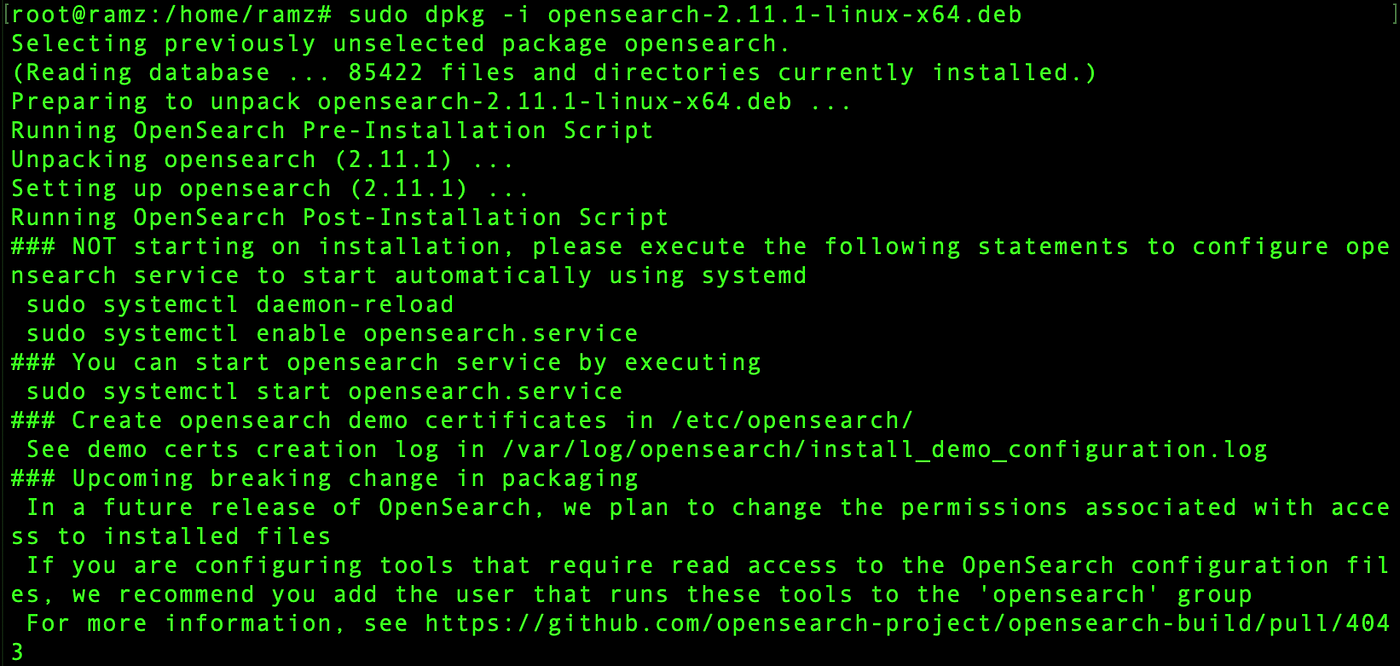
Reload and enable opensearch,
sudo systemctl daemon-reload
sudo systemctl enable opensearch
Start and check the status of OpenSearch
sudo systemctl start opensearch
sudo systemctl status opensearch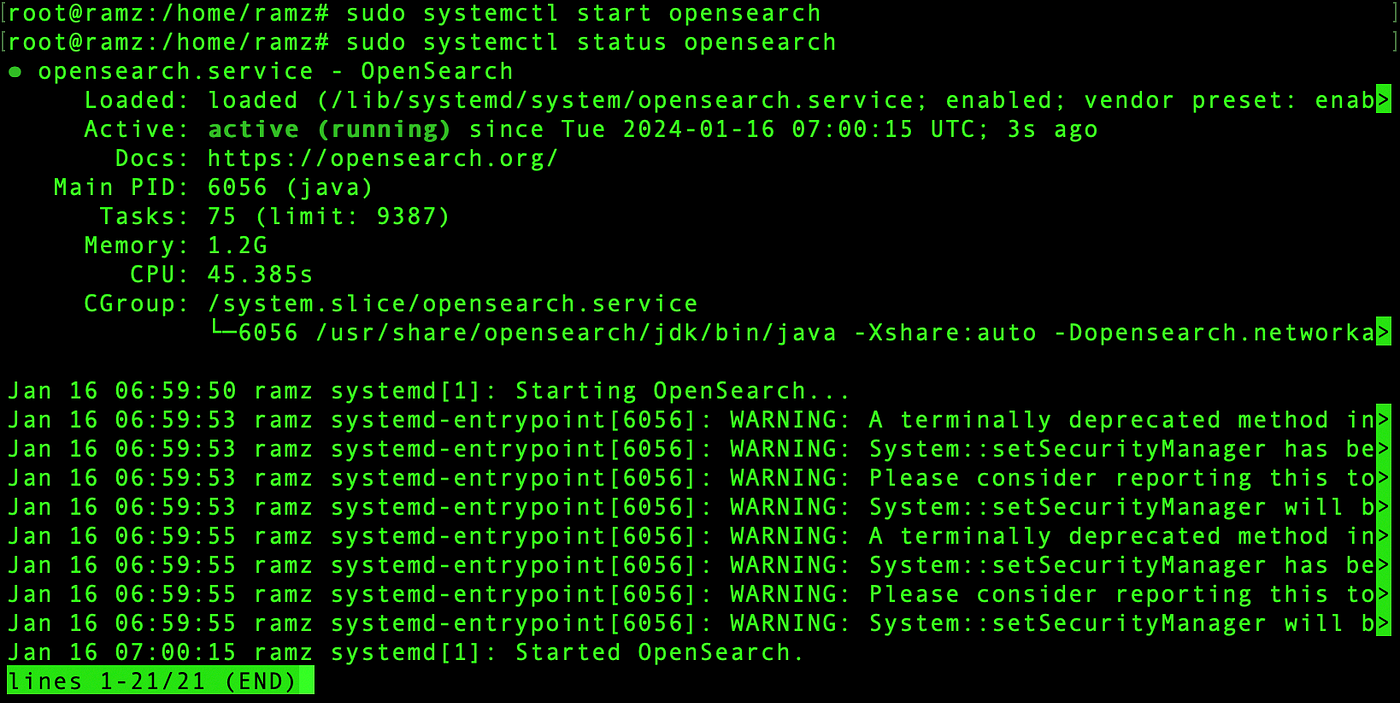
Curl the opensearch url running on port 9200, with username and password as admin.
curl -X GET https://localhost:9200 -u 'admin:admin' --insecure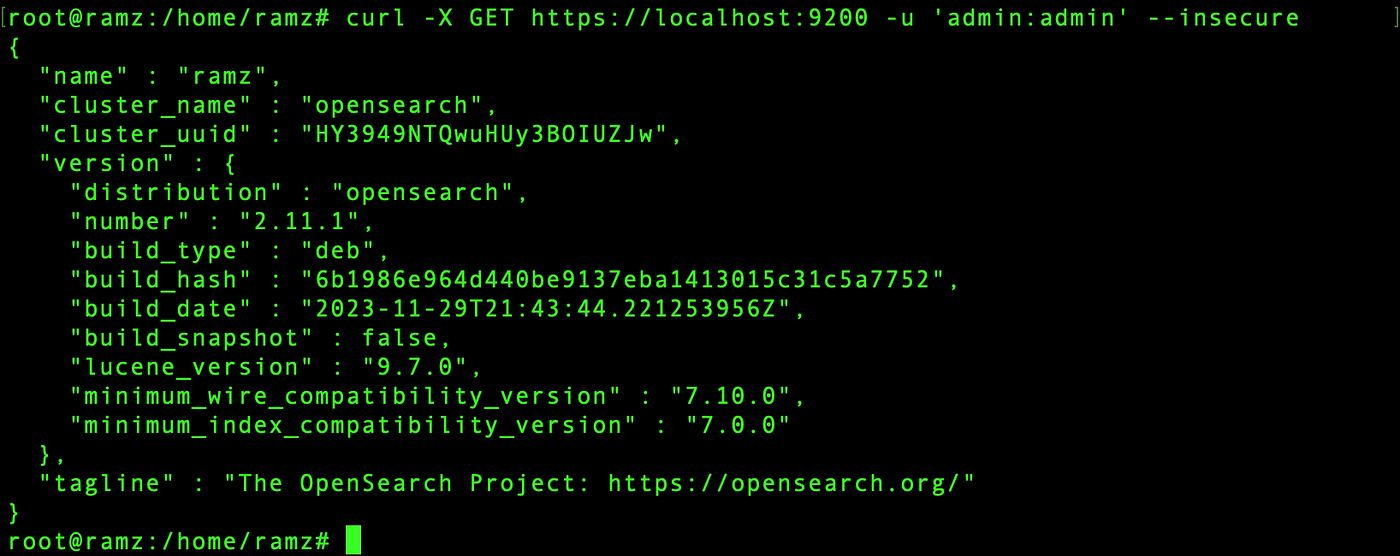
In opensearch.yml file, located in /etc/opensearch make the following modifications,
network.host: 0.0.0.0
discovery.type: single-node
plugins.security.disabled: false
In jvm.options, located at /etc/opensearch modify the heap size as per the requirement.
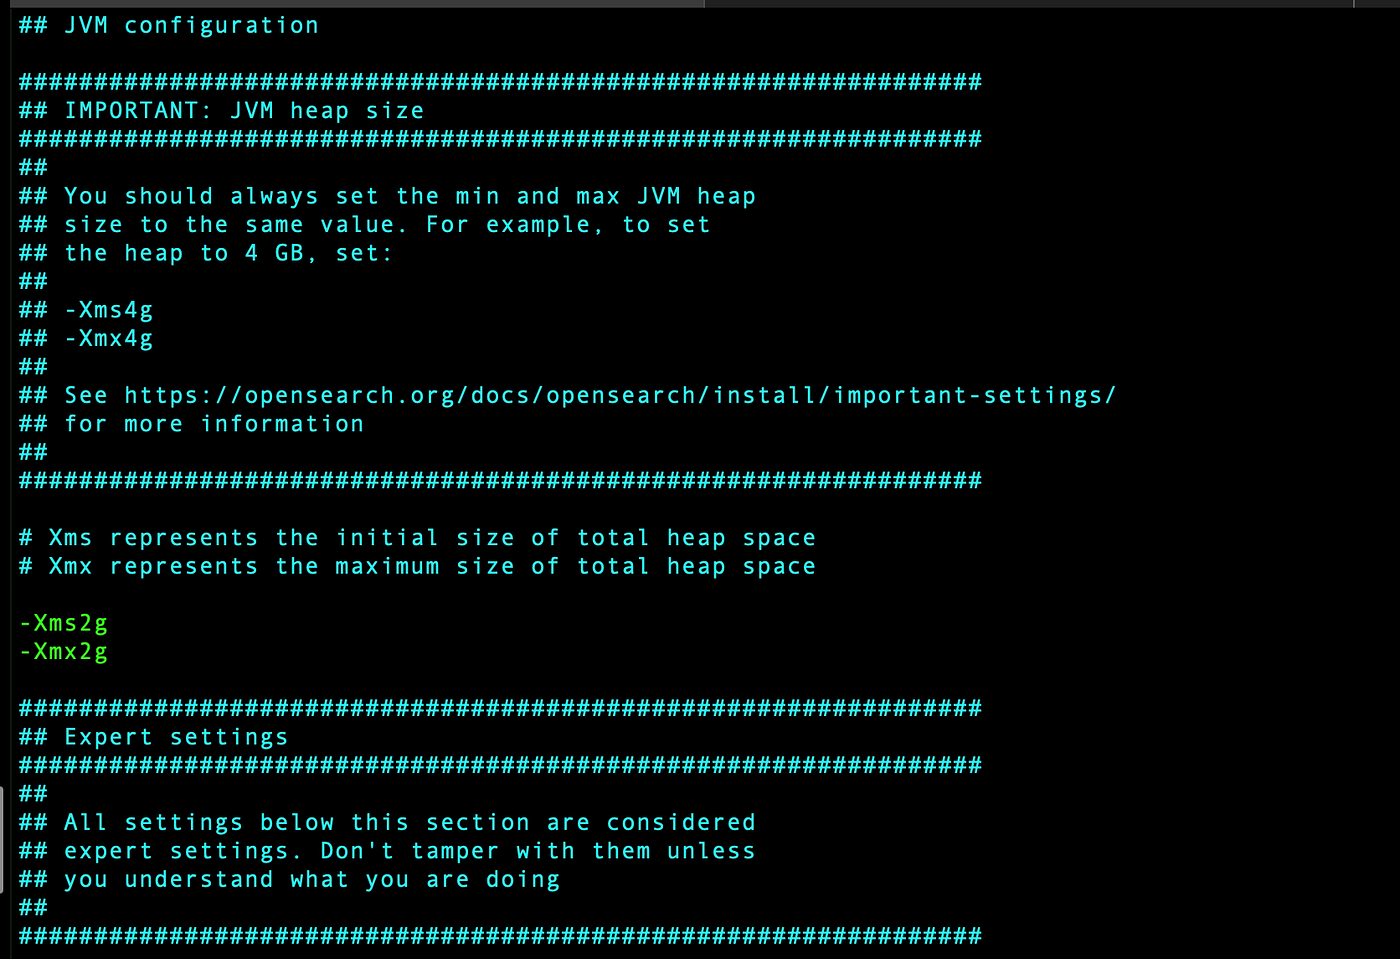
To run the OpenSearch using SSL, remove all the pem files from /etc/opensearch and generate self signed certificates.
cd /etc/opensearch
sudo rm -f *pem
sudo openssl genrsa -out root-ca-key.pem 2048
sudo openssl req -new -x509 -sha256 -key root-ca-key.pem -subj "/C=CA/ST=ONTARIO/L=TORONTO/O=ORG/OU=UNIT/CN=ROOT" -out root-ca.pem -days 730
sudo openssl genrsa -out admin-key-temp.pem 2048
sudo openssl pkcs8 -inform PEM -outform PEM -in admin-key-temp.pem -topk8 -nocrypt -v1 PBE-SHA1–3DES -out admin-key.pem
sudo openssl req -new -key admin-key.pem -subj "/C=CA/ST=ONTARIO/L=TORONTO/O=ORG/OU=UNIT/CN=A" -out admin.csr
sudo openssl x509 -req -in admin.csr -CA root-ca.pem -CAkey root-ca-key.pem -CAcreateserial -sha256 -out admin.pem -days 730
sudo openssl genrsa -out node1-key-temp.pem 2048
sudo openssl pkcs8 -inform PEM -outform PEM -in node1-key-temp.pem -topk8 -nocrypt -v1 PBE-SHA1–3DES -out node1-key.pem
sudo openssl req -new -key node1-key.pem -subj "/C=CA/ST=ONTARIO/L=TORONTO/O=ORG/OU=UNIT/CN=node1.dns.a-record" -out node1.csr
sudo sh -c 'echo subjectAltName=DNS:node1.dns.a-record > node1.ext'
sudo openssl x509 -req -in node1.csr -CA root-ca.pem -CAkey root-ca-key.pem -CAcreateserial -sha256 -out node1.pem -days 730 -extfile node1.ext
sudo rm -f *temp.pem *csr *ext
sudo chown opensearch:opensearch admin-key.pem admin.pem node1-key.pem node1.pem root-ca-key.pem root-ca.pem root-ca.srl
Update the generated certificates in opensearch.yml file using the below script and make sure you comment out the duplicates.
#! /bin/bash
echo "plugins.security.ssl.transport.pemcert_filepath: /etc/opensearch/node1.pem" | sudo tee -a /etc/opensearch/opensearch.yml
echo "plugins.security.ssl.transport.pemkey_filepath: /etc/opensearch/node1-key.pem" | sudo tee -a /etc/opensearch/opensearch.yml
echo "plugins.security.ssl.transport.pemtrustedcas_filepath: /etc/opensearch/root-ca.pem" | sudo tee -a /etc/opensearch/opensearch.yml
echo "plugins.security.ssl.http.enabled: true" | sudo tee -a /etc/opensearch/opensearch.yml
echo "plugins.security.ssl.http.pemcert_filepath: /etc/opensearch/node1.pem" | sudo tee -a /etc/opensearch/opensearch.yml
echo "plugins.security.ssl.http.pemkey_filepath: /etc/opensearch/node1-key.pem" | sudo tee -a /etc/opensearch/opensearch.yml
echo "plugins.security.ssl.http.pemtrustedcas_filepath: /etc/opensearch/root-ca.pem" | sudo tee -a /etc/opensearch/opensearch.yml
echo "plugins.security.allow_default_init_securityindex: true" | sudo tee -a /etc/opensearch/opensearch.yml
echo "plugins.security.authcz.admin_dn:" | sudo tee -a /etc/opensearch/opensearch.yml
echo " - 'CN=A,OU=UNIT,O=ORG,L=TORONTO,ST=ONTARIO,C=CA'" | sudo tee -a /etc/opensearch/opensearch.yml
echo "plugins.security.nodes_dn:" | sudo tee -a /etc/opensearch/opensearch.yml
echo " - 'CN=node1.dns.a-record,OU=UNIT,O=ORG,L=TORONTO,ST=ONTARIO,C=CA'" | sudo tee -a /etc/opensearch/opensearch.yml
echo "plugins.security.audit.type: internal_opensearch" | sudo tee -a /etc/opensearch/opensearch.yml
echo "plugins.security.enable_snapshot_restore_privilege: true" | sudo tee -a /etc/opensearch/opensearch.yml
echo "plugins.security.check_snapshot_restore_write_privileges: true" | sudo tee -a /etc/opensearch/opensearch.yml
echo "plugins.security.restapi.roles_enabled: [\"all_access\", \"security_rest_api_access\"]" | sudo tee -a /etc/opensearch/opensearch.yml
Change the directory to, /usr/share/opensearch/plugins/opensearch-security/tools and run hash.sh to generate hash for a new password, note the hash for the password generated.
cd /usr/share/opensearch/plugins/opensearch-security/tools
./hash.sh
Now change the directory to /etc/opensearch/opensearch-security, modify internal_users.yml. Comment out all the users except admin and change the hash in the admin to the hash previously generated.
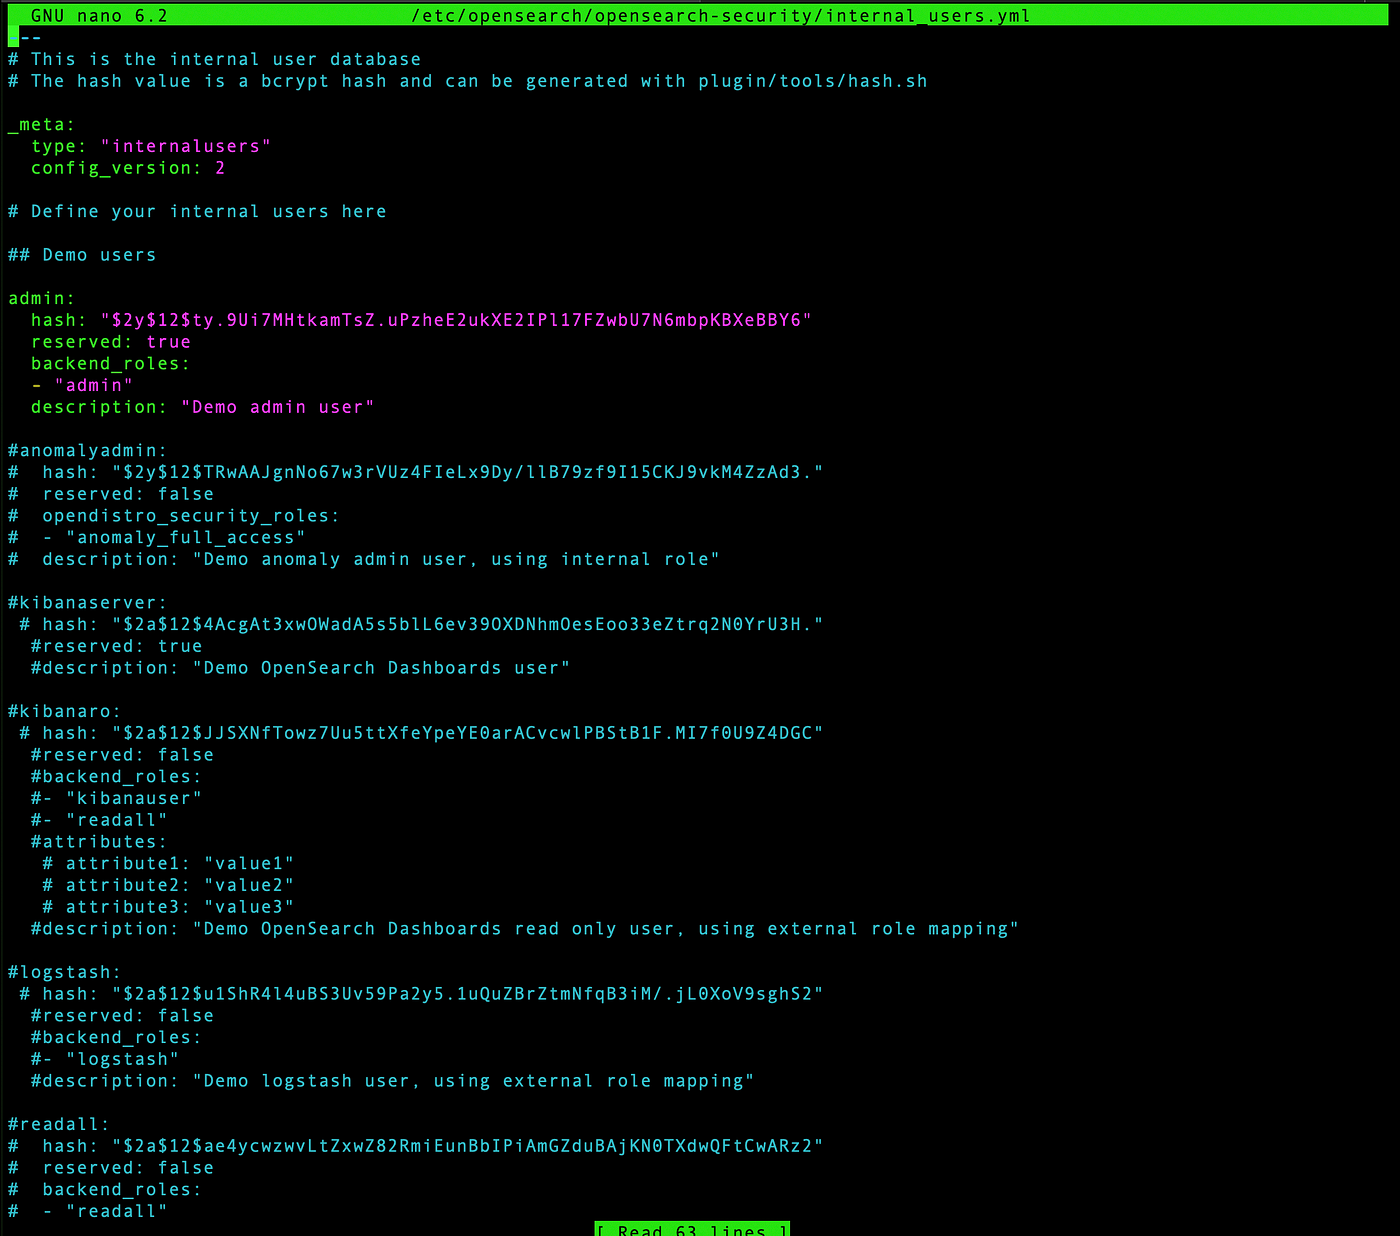
Now restart and check the status of OpenSearch
sudo systemctl restart opensearch
sudo systemctl status opensearch
Change the directory to /usr/share/opensearch/plugins/opensearch-security/tools and run securityadmin.sh to update the certificates as given below,
cd /usr/share/opensearch/plugins/opensearch-security/tools
OPENSEARCH_JAVA_HOME=/usr/share/opensearch/jdk ./securityadmin.sh -cd /etc/opensearch/opensearch-security/ -cacert /etc/opensearch/root-ca.pem -cert /etc/opensearch/admin.pem -key /etc/opensearch/admin-key.pem -icl -nhnv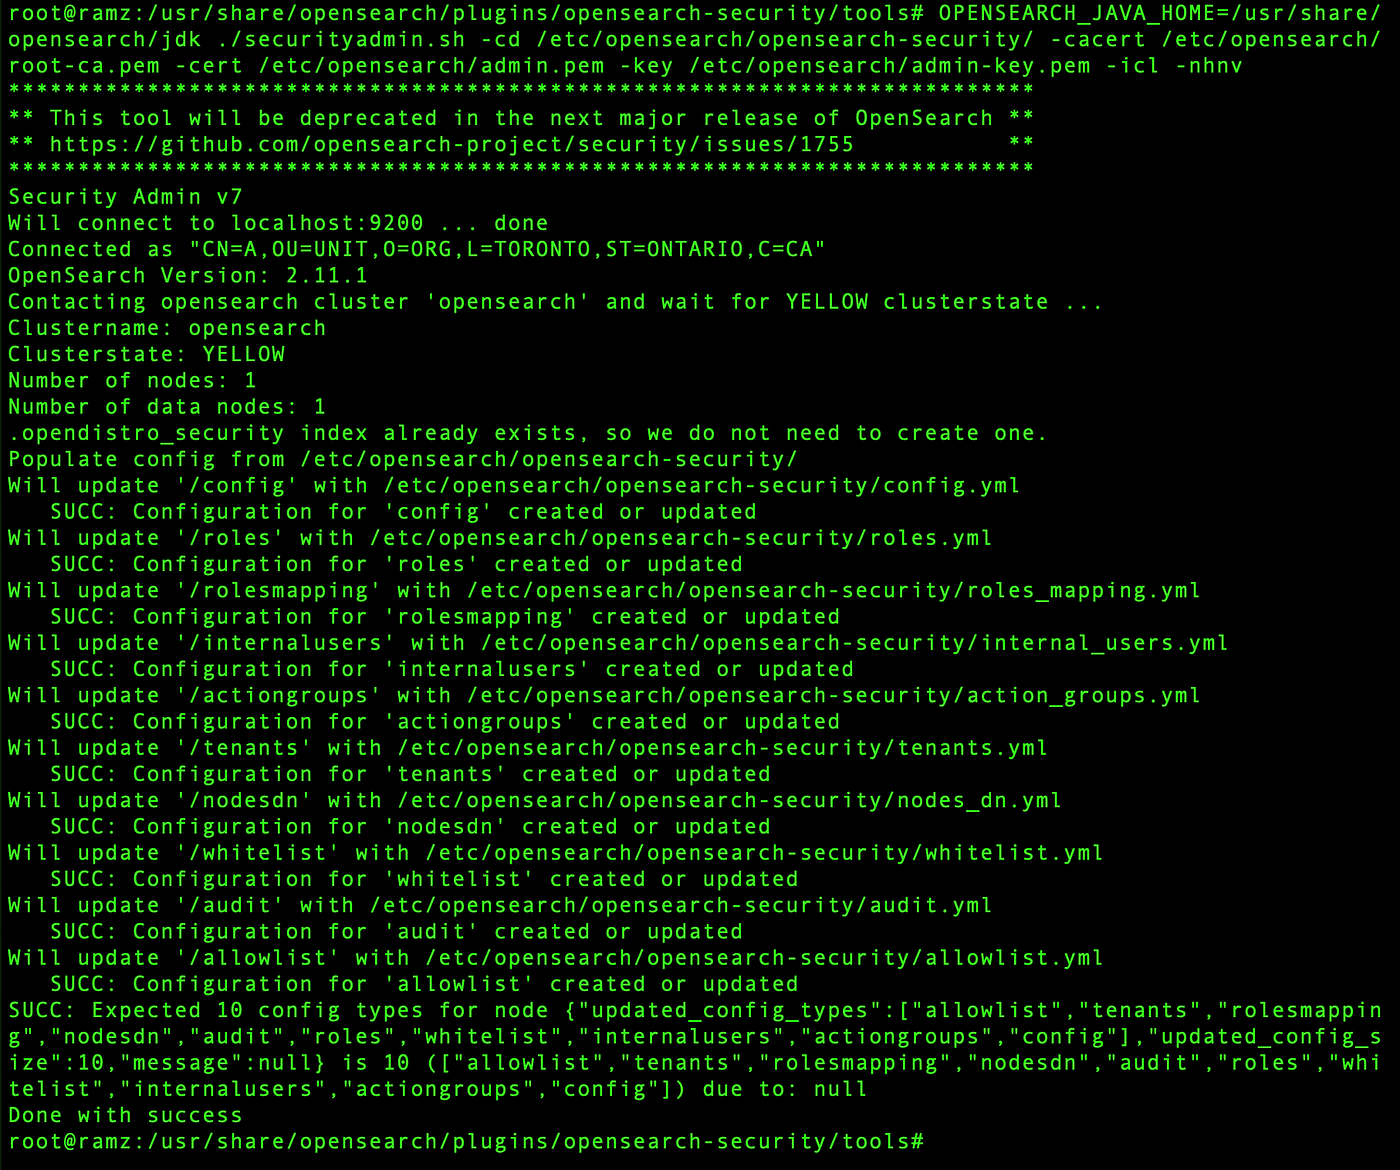
Now curl the opensearch running on port 9200,
curl https://<IP>:9200 -u admin:<new password> -k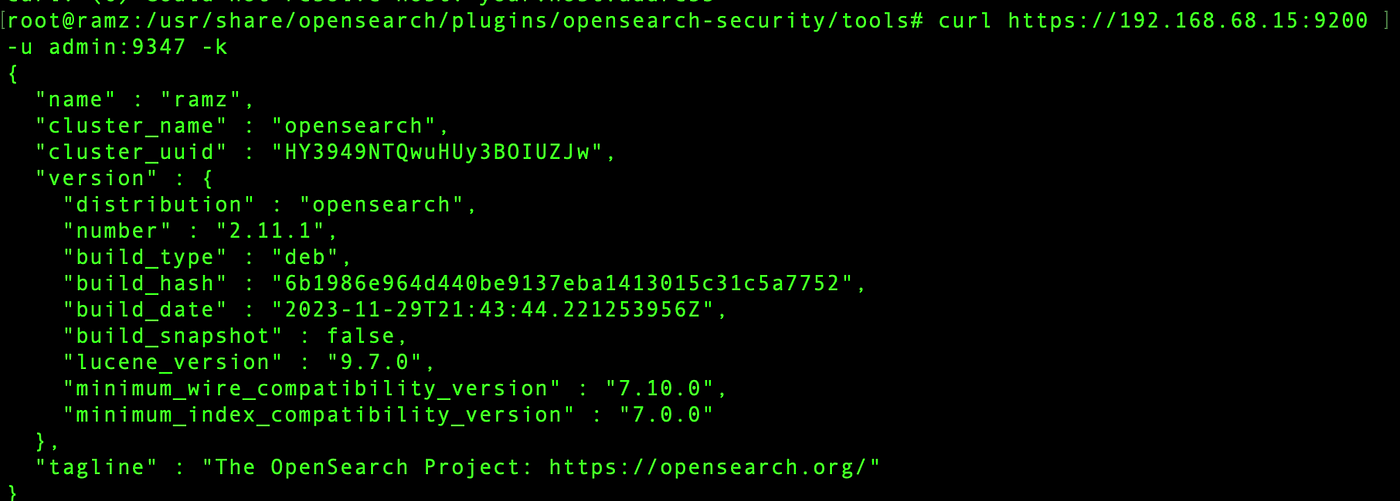
Once you get an output similar to that of the one above, you have successfully installed and configured opensearch.
In the next post I will be sharing how to install and setup OpenSearch-dashboards.
Check out the video on OpenSearch:
Subscribe to our YouTube channel: https://www.youtube.com/@CyberToolGuardian/featured
Follow us on Instagram:
https://instagram.com/cybertoolguardian
Check out the website:
https://cybertoolguardain.com
Comments
Post a Comment